
Today I thought I would share a quick and easy DIY bridle project with everyone. If you can braid, you can make this bridle! The materials are inexpensive, and the colors combinations are endless! What’s not to love?
This is my go-to bridle when riding in my Little S hackamore or Combination bit. It’s simple to use, adjust, and it’s ideal for any bit or bitless option with a noseband and curb strap. However, it isn’t advisable to use this bridle with any bit without a noseband. Since it lacks a throat latch and browband, it needs the noseband and curb strap for stability.
First, what you will need for this project:
( 2 ) 50 ft. 550 paracord bundles in the primary color of your choice – I chose black because it matches my saddles. You can find paracord in stores and online in an amazing selection of colors. The turquoise and black bridle is made with reflective paracord. It is great for riding in the morning or evening hours, as it will increase visibility for cars. You can find reflective paracord here: http://amzn.to/2wEIBBC
( 2 ) 18 ft. 550 paracord bundles in secondary color of choice (or one more 50 ft bundle, Walmart didn’t have any colors in 50 ft. bundles) – I chose tie-dye because this bridle will be used by my daughter.
( 4 ) 3/4 inch Conway buckles – I purchased a bag of 25 from my local feed store years ago for under $20. You can find them at farm stores and online as well. The ones I used are Stainless Steel. I found a 4 pack online here: http://amzn.to/2vge8Mu
( 2 ) Chip bag clips – You know, the little plastic things you use to seal the bags of snack food. I got these from Ikea.
( 1 ) Torch lighter. You find these near the cookout supplies at the average store. The one I purchased actually had a torch flame, not just a lighter-style flame. This makes a huge difference when finishing the ends of the paracord.
( 1 ) pair of needle-nose pliers.
( 1 ) pair scissors.
( 1 ) Tape measure or Tailor Tape. You can find an inexpensive one in the sewing supplies of some stores or online here: http://amzn.to/2fpY0m7
Here is a picture of most of the supplies needed ( Not pictured is a second clip, the tape measure or tailor tape, and scissors).

Before you start, you must preshrink the paracord. It will shrink later when it gets wet if you don’t. Simply remove any plastic wrapping or labels, then submerge the cord in hot water for about 10 to 20 minutes. Let it dry on a towel for a few hours after soaking. It doesn’t have to be entirely dried before you start working with it, but I prefer it to be mostly dry.
Headstall
I originally made this bridle because my Rocky Mountain Horse gelding has a narrow and petite head. His favorite bit also happens to be a Myler Combination bit. Even a Cob sized bridle proved too big because this bit had to sit higher in his mouth. It was frustrating punching holes in brand new bridles, and my budget was pretty limited.
I had a friend who made paracord bracelets, so decided to play around with some. After a little experimenting, I finally made a simple, but sturdy, design for my day to day riding needs. I also made one for my Spotted Saddle Horse gelding who uses a Little S Hackamore. I use this bridle every time I ride him.
For this DIY demo, I am making the simple headstall first. You will need ( 6 ) strands of paracord six feet long each. ( It will probably end up being a little too long, but that allows you to tailor the size to your individual horse later. ) Any color combination can be used, but it will affect the finished pattern. I used this pattern:

As you see in the picture, you use the clip to hold the paracord in a neat line. Now you just braid! While you work, the tails of the cord may get a little tangled. Take a moment and untangle them as you go. If you need to take a break, use the second clip to hold your place. Here is what the braid looks like:

Then this:

After you finish braiding, clamp the other end. Now it’s time to burn the ends of the paracord to prevent fraying. You will need the torch lighter, scissors, and needle-nose pliers. Trim the ends even with the scissors, then burn them with the lighter like below:


While the ends are still very hot ( sometimes even on fire a little, lol ), clamp them together with the pliers and hold for about 30 seconds. This might take a few attempts to get right. Your goal is to make an end that is fused and will fit through the conway buckle. The finished end looks something like this:

Now, set it aside and start on your reins. You will finish assembling the headstall when both parts are done.
The Reins
For the reins you need ( 6 ) strands of paracord 12.5 ft long. Again, you can use any pattern you want. I tend to use mostly black with some color since the reins seem to show dirt faster than the headstall. Paracord does wash off with a little soap and water though.
The method is exactly like the headstall, so once you have the reins braided, cut and burn the ends. You can slide the conway buckles on the rein ends. I like to use about 5 or 6 inches of the finished braid to loop it securely in the buckle. Your buckle should look like this when put on correctly : (of course you want to attach the bit or hackamore to it, I didn’t to provide better closeup pictures).


Make sure the little hook in the middle shows through the paracord to keep the braid from slipping and the finished ends are all the way through the buckle to secure it well. Sometimes while pulling the ends through, a strand breaks apart where you burned them together. It’s no big deal, simply burn it back to the others strands again. The second picture shows the side that should be facing the outside of your rein, so that the inside of the buckle hides the finished end. Your reins should be around 9 feet long, but you can alter the length easily by cutting off the excess and burning the ends like before.
Now time to adjust the headstall. There are two ways to do this depending on the availability of your horse. If you live with your horse, simply use him to get a rough measurement of the size needed for the headstall. Remember to add 5 to 6 inches on each side for the conway buckles. Once you have used your horse’s head to get a rough estimate of the length needed, measure it out on the headstall. Then you can cut and refinish one side as you did earlier.
The other way uses your horse’s current bridle to get a rough estimate. Again remember to add 5 to 6 inches to each side for the conway buckles. After you assemble the bit or hackamore on the finished headstall, it is time to try it on! Your bridle should look something like this:

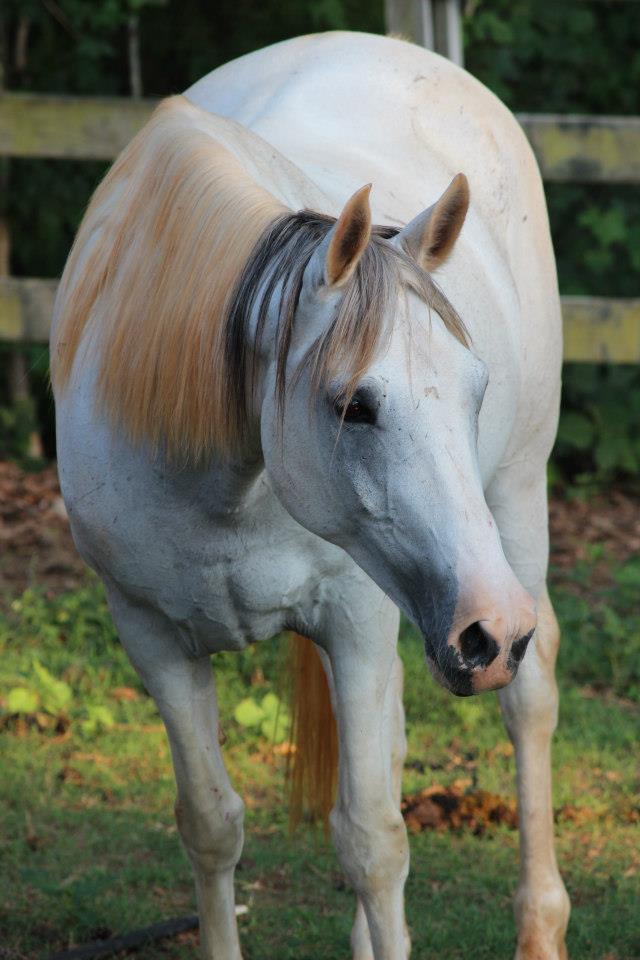
I didn’t use the reins on this bridle because my daughter prefers these rope reins. You will also notice the bit was sitting a little too low in his mouth and the noseband was too low also. This was the first time I was trying on this bridle. It started pouring rain before I could adjust it and take another picture. Whiskey was not ridden with the bit that low on in his mouth. Here’s another bridle I just made being tried on Indy that same day:

This one was also too low on his nose, and was adjusted inside while it was pouring rain!
So there you have it! A simple bridle that anyone can make in an afternoon. These make great personalized gifts for the horse lovers in your life. They are also inexpensive enough to have several different colors hanging around to change up your horse’s look. Hope you enjoyed this tutorial and love your new bridle!